Buying Guides
How to Tell a Good Crimp from a Bad One
A crimped terminal either holds for the life of the harness or fails quietly months later, usually as an intermittent fault. You do not need a laboratory to judge most crimps: three things to look for with your eyes, and one check with a gauge.
1. Three Things to Look For in a Finished Crimp
Strands must be visible. After crimping, you should see the wire strands at the front of the terminal, through the inspection hole where the terminal has one. Strands you cannot see usually mean the wire was not pushed in far enough, or the strip length was wrong.
The indent must be centred and clean. It should sit in the middle of the wire barrel with a regular shape. On indent-style tools, a die code pressed into the back of the terminal confirms the right die did the work.
No frayed strands. Strands that have fanned out — a "birdcage" — are a failed crimp. Do not push them back into place. Cut the terminal off and start again.
2. Strip and Insert: Depth Decides the Result
Strip length. Strip to the length the terminal's selection chart calls for, then check the stripped end: no missing, nicked or damaged strands. A nicked strand is a weak strand, and it will break first.
Insertion depth. Push the stripped wire fully into the barrel. Every strand must be inside, and visible through the inspection hole. For a bare terminal, the conductor tip should stick out by about 0.5–2 mm — enough to confirm the wire is fully in.
Indent position. The indent should fall between the end of the barrel and the inspection hole. Leave a small gap — about 0.025–0.100 in (0.63–2.54 mm) — between the contact and the insulation. No gap means the insulation is being crushed; too large a gap means the wire is unsupported.
3. The GO / NO-GO Gauge Test
A GO/NO-GO gauge is a small two-ended gauge matched to the tool. Close the tool fully, keep pressure on the handles, and slide the GO end between the indenter tips: it must pass through freely. Then try the NO-GO end: it may enter part of the way, but must never pass all the way through.
Gauge result | What it means | What to do |
|---|---|---|
GO passes freely, NO-GO does not pass through | Crimp height is correct | The tool is set correctly |
GO will not pass | Too tight (over-crimped) | Loosen one step, re-crimp a fresh terminal, test again |
NO-GO passes all the way through | Too loose (under-crimped) | Tighten one step, re-crimp a fresh terminal, test again |
Adjust one step at a time, and always re-crimp a fresh terminal and re-test. Never crimp the gauge itself: it damages the indenter tips and the gauge. Check the tool regularly — a tool that has drifted keeps making bad crimps that look almost right.
4. Over-Crimp and Under-Crimp Both Weaken the Joint
Squeezing harder does not make a stronger joint. Crimp height has a correct range, and both sides of it are bad. Over-crimping squeezes the strands thinner, so they carry less load. Under-crimping leaves the barrel too loose, so contact resistance goes up. Both weaken the connection.
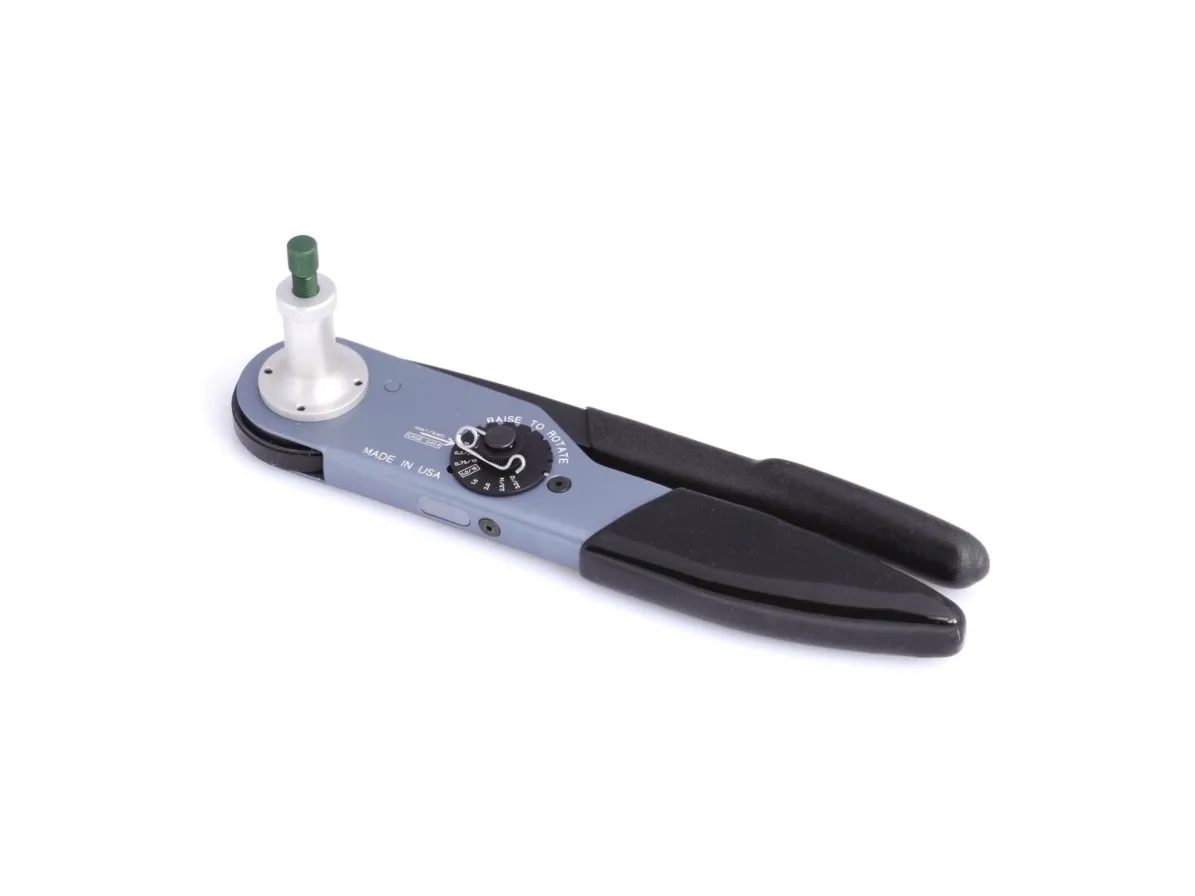
On adjustable tools the dial controls crimp height: a higher number means more force and a smaller crimp height, and the setting normally matches the wire gauge — on one adjustable solid-contact tool, 20 AWG uses #1, 18 AWG uses #3, and 16 AWG uses #7. Check the dial before every batch.
5. Match the Tool to the Terminal
Solid contacts and open-barrel terminals are crimped differently, and no single tool does both well.
Terminal type | Tool type | Notes |
|---|---|---|
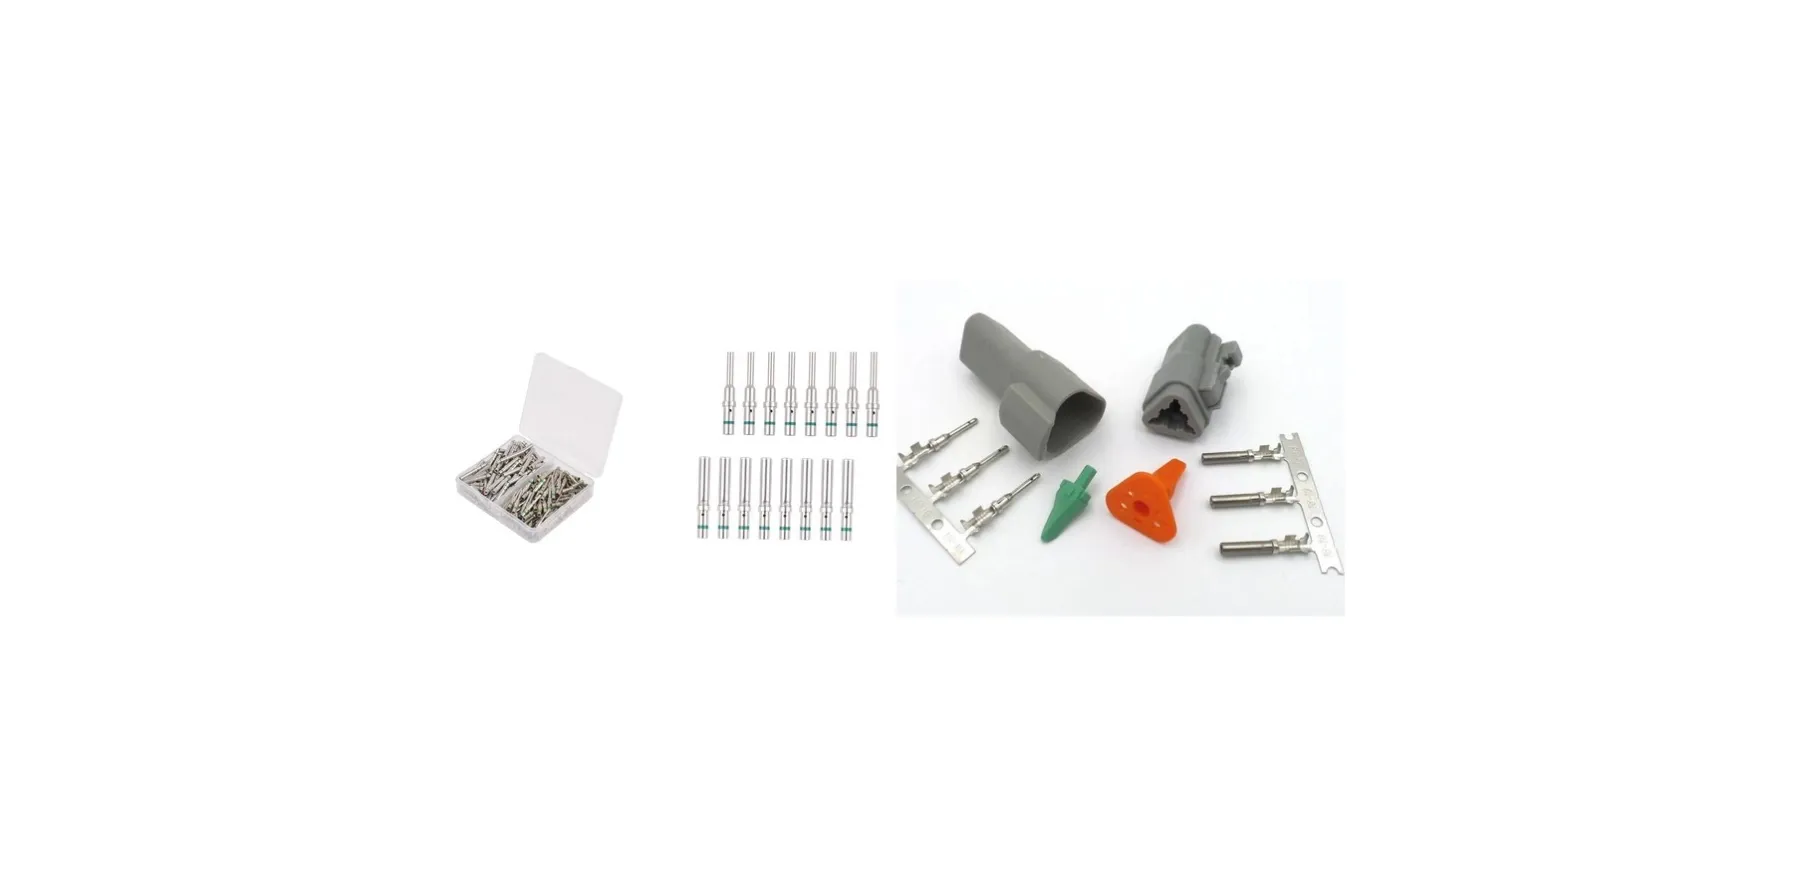
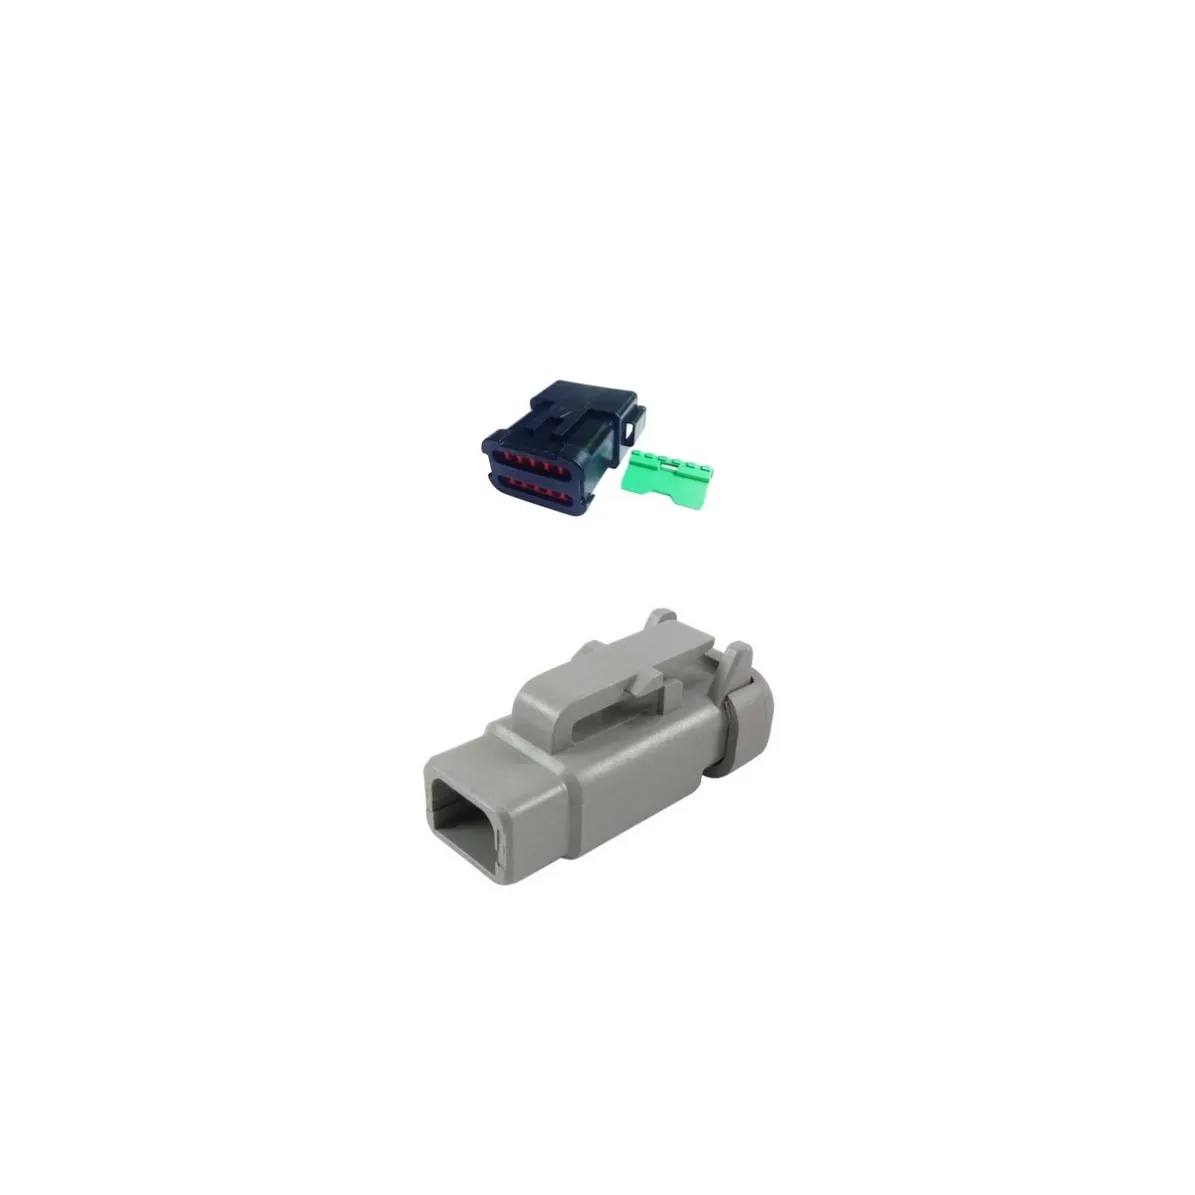
Solid (closed-barrel) contacts, e.g. Size 16 and Size 20 for DEUTSCH DT and DTM housings | Four-indent crimp tool | Separate tools/settings by wire gauge |
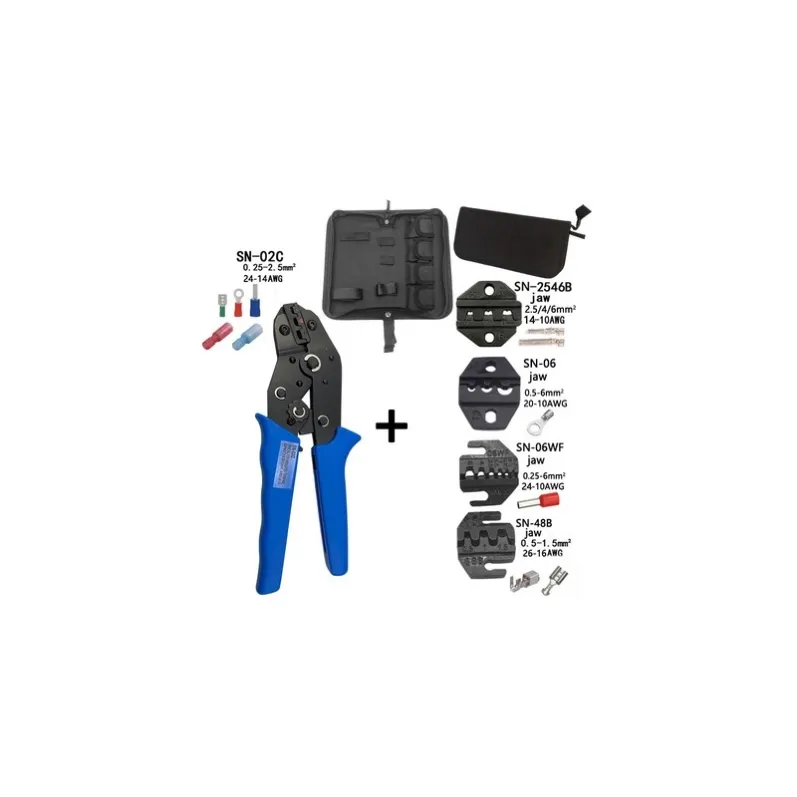
Open-barrel terminals | Open-barrel crimp tool | Different jaws for sealed and unsealed terminals |
Bare (non-insulated) terminals | Indent ratchet tool | Check the die code on the back matches the wire size |
Battery cable lugs | Heavy-duty tool with interchangeable dies | Match the die to the cable size |
Removal follows the same rule: sealed terminals must come out with a dedicated release tool. Pulling or prying damages the terminal, the wire, and often the housing.
6. Let the Ratchet Finish the Stroke
A ratchet tool must be squeezed all the way through the stroke before it releases — that is what guarantees full compression on every crimp. If the handles stop halfway, do not force them apart. Use the release trigger, clear the jam — usually a mis-seated terminal or debris — and start again with a fresh terminal. Forcing the handles open damages the ratchet and leaves a half-crimped terminal that looks finished but is not.
7. Keep the Tool in Shape
- Keep it clean. Brush dust out of the dies with a soft brush or lint-free cloth — no abrasives.
- Do not spray oil into the tool. Oil in the crimp area can reach the terminals. Oil the pivot points periodically and wipe off excess around the dies.
- Do not take it apart. If it still fails the gauge test after adjustment, it needs professional service.
- Store it closed and dry, so nothing falls into the dies.
8. Safety: Never Crimp Live
Never crimp a live wire. Disconnect power before you start, every time. Match the sizes. The terminal, the sleeve and the wire must all fit each other. A wrong die or terminal can overheat and, in the worst case, cause a fire. If the sizes do not match, stop and get the right parts.
Quick-Check Table
| Check | Good | Bad | Fix |
|---|---|---|
| Strands visible | Visible at the front / through the hole | None visible | Strip correctly, push the wire in |
| Strands frayed | Straight and together | Fanned out like a birdcage | Cut off and redo |
| Indent position | Centred, regular, die code readable | Off-centre, distorted | Check die and seating; re-crimp |
| GO gauge | Passes freely | Will not pass | Loosen one step, re-crimp, re-test |
| NO-GO gauge | Cannot pass through | Passes through | Tighten one step, re-crimp, re-test |
| Ratchet | Full stroke, releases by itself | Stops halfway, handles stuck | Use the release trigger; do not force |
FAQ
Can I just tug the wire to test the crimp?
A firm tug only catches a crimp that is already falling apart. It cannot tell you whether the crimp is over- or under-compressed — use the visual checks and the gauge test above.
My strands fanned out while stripping. Can I twist them back together?
No. Once strands have fanned out, the crimp will not be reliable. Cut the terminal off and re-strip carefully.
The ratchet locked halfway and the handles will not open. What do I do?
Do not force the handles apart. Push the release trigger, remove the terminal, and check for debris or a mis-seated terminal before starting again.
Can I use the same tool for solid contacts and open-barrel terminals?
No. Solid contacts need a four-indent tool; open-barrel terminals need an open-barrel tool. The wrong type looks finished but does not hold.
Where to Find the Right Tools
Our Tools range includes the HDT-48-00 adjustable 8-indent crimp tool, the HSC8 6-6A ferrule crimp tool, the SN-2546B and SN-58B ratchet crimp tools, the BX 4008 adjustable crimp tool, and the 0411 series release tools: https://www.wireuconnectors.com/products?category=tools
Our crimp terminals, including solid contacts for DEUTSCH DT (Size 16) and DTM (Size 20) housings, are here: https://www.wireuconnectors.com/products?category=crimp-terminals
Not sure which tool fits your terminal? Send us the terminal part number and wire size and we will match it for you.
Wenzhou WireU Electronic Technology Co. Ltd — https://www.wireuconnectors.com
Email: info@wire-u.com — Mobile / WhatsApp: +86-13626552636